 |
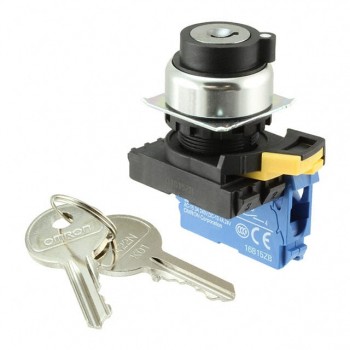
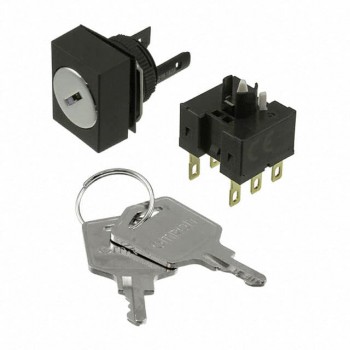
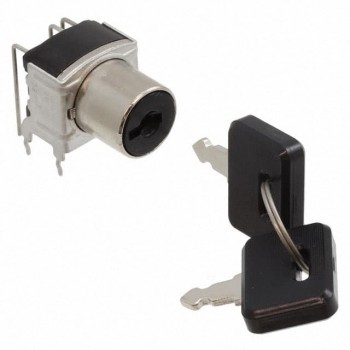
A22NK-2RM-01AA-G002 |
SWITCH KEYLCK 2POS SPST 10A 120V |
Omron Automation and Safety |
|
 |
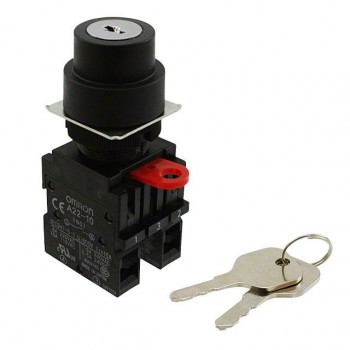
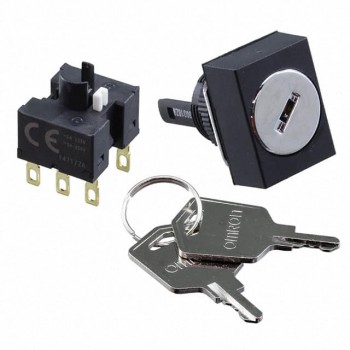
A22NK-2RM-01AA-G202 |
SWITCH KEYLCK 2POS DPST 10A 120V |
Omron Automation and Safety |
|
 |
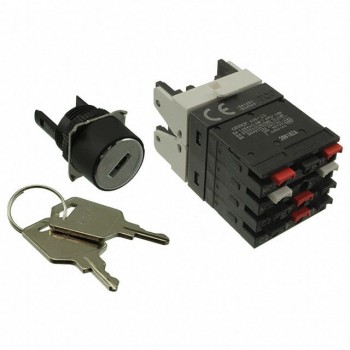
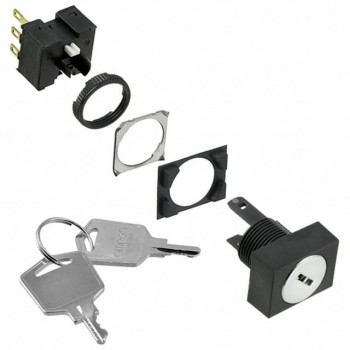
A22NK-2RM-01BA-G002 |
SWITCH KEYLCK 2POS SPST 10A 120V |
Omron Automation and Safety |
|
 |
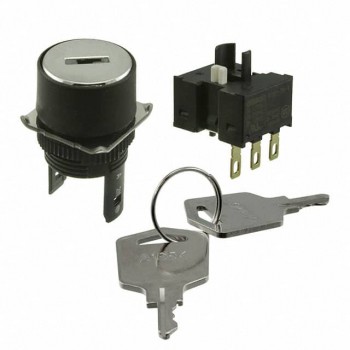
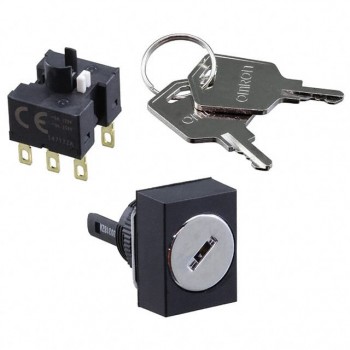
A22NK-2RM-01BA-G101 |
SWITCH KEYLCK 2POS DPST 10A 120V |
Omron Automation and Safety |
|
 |
A22NK-2RM-01BA-G102 |
SWITCH KEYLCK 2POS DPST 10A 120V |
Omron Automation and Safety |
|
 |
A22NK-2RM-01BA-G202 |
SWITCH KEYLCK 2POS DPST 10A 120V |
Omron Automation and Safety |
|
 |
A22NK-3RB-01DA-G102 |
SWITCH KEYLCK 3POS DPST 10A 120V |
Omron Automation and Safety |
|
 |
A22NK-3RB-01DA-G202 |
SWITCH KEYLCK 3POS DPST 10A 120V |
Omron Automation and Safety |
|
 |
A22NK-3RM-01BA-G102 |
SWITCH KEYLCK 3POS DPST 10A 120V |
Omron Automation and Safety |
|
 |
A22NK-3RM-01DA-G101 |
SWITCH KEYLCK 3POS DPST 10A 120V |
Omron Automation and Safety |
|
 |
A22NK-3RM-01DA-G102 |
SWITCH KEYLCK 3POS DPST 10A 120V |
Omron Automation and Safety |
|
 |
A22NK-3RM-01DA-G202 |
SWITCH KEYLCK 3POS DPST 10A 120V |
Omron Automation and Safety |
|
 |
A22NK-3RM-01GA-G101 |
SWITCH KEYLCK 3POS DPST 10A 120V |
Omron Automation and Safety |
|
 |
A22NK-3RM-01GA-G102 |
SWITCH KEYLCK 3POS DPST 10A 120V |
Omron Automation and Safety |
|
 |
A22NK-3RM-01GA-G202 |
SWITCH KEYLCK 3POS DPST 10A 120V |
Omron Automation and Safety |
|
 |
A22K-3AC-20 |
SWITCH KEYLCK 3POS DPST 10A 110V |
Omron Automation and Safety |
|
 |
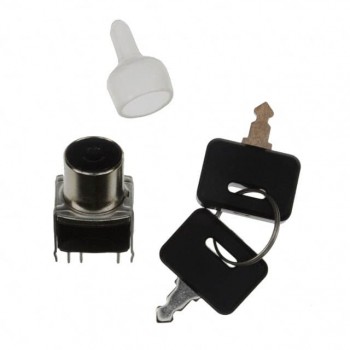
A165KT2M2S |
SWITCH KEYLOCK 2POS DPDT 5A 125V |
Omron Automation and Safety |
|
 |
A165K-T2AL-1 |
SWITCH KEYLOCK 2POS SPDT 5A 125V |
Omron Automation and Safety |
|
 |
A165K-J2MR-2 |
SWITCH KEYLOCK 2POS DPDT 5A 125V |
Omron Automation and Safety |
|
 |
A165K-J3M-2 |
SWITCH KEYLOCK 3POS DPDT 5A 125V |
Omron Automation and Safety |
|
 |
A165K-J3MC-2 |
SWITCH KEYLOCK 3POS DPDT 5A 125V |
Omron Automation and Safety |
|
 |
A165K-J2ML-2 |
SWITCH KEYLOCK 2POS DPDT 5A 125V |
Omron Automation and Safety |
|
 |
A165K-J2M-1 |
SWITCH KEYLOCK 2POS SPDT 5A 125V |
Omron Automation and Safety |
|
 |
A165K-J2MR-1 |
SWITCH KEYLOCK 2POS SPDT 5A 125V |
Omron Automation and Safety |
|
 |
A165K-J2AL-2 |
SWITCH KEYLOCK 2POS DPDT 5A 125V |
Omron Automation and Safety |
|
 |
A165K-A2M-1 |
SWITCH KEYLOCK 2POS SPDT 5A 125V |
Omron Automation and Safety |
|
 |
A165K-A2ML-1 |
SWITCH KEYLOCK 2POS SPDT 5A 125V |
Omron Automation and Safety |
|
 |
A165K-A2MR-1 |
SWITCH KEYLOCK 2POS SPDT 5A 125V |
Omron Automation and Safety |
|
 |
A165K-J2ML-1 |
SWITCH KEYLOCK 2POS SPDT 5A 125V |
Omron Automation and Safety |
|
 |
A165K-T2M-1 |
SWITCH KEYLOCK 2POS SPDT 5A 125V |
Omron Automation and Safety |
|
 |
A165K-A2AL-1 |
SWITCH KEYLOCK 2POS SPDT 5A 125V |
Omron Automation and Safety |
|
 |
SK24DG30 |
SWITCH KEYLK 3POS DP3T 0.4VA 28V |
NKK Switches |
|
 |
SK24DG13 |
SWITCH KEYLK 3POS DP3T 0.4VA 28V |
NKK Switches |
|
 |
SK22BG30 |
SWITCH KEYLK 2POS DPDT 0.4VA 28V |
NKK Switches |
|
 |
SK22BG13 |
SWITCH KEYLK 2POS DPDT 0.4VA 28V |
NKK Switches |
|
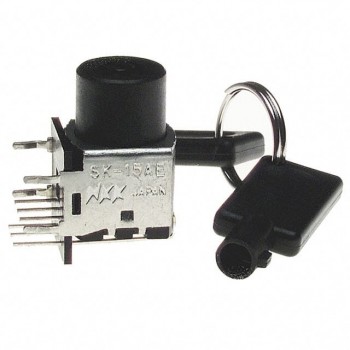 |
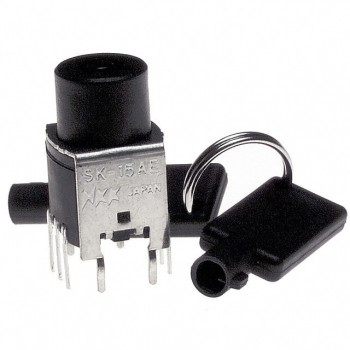
SK15AEG30 |
SWITCH KEYLK 5POS SP5T 0.4VA 28V |
NKK Switches |
|
 |
SK15AEG13 |
SWITCH KEYLK 5POS SP5T 0.4VA 28V |
NKK Switches |
|
 |
SK14DGMG01 |
SWITCH KEYLOCK SP3T 0.4VA 28V |
NKK Switches |
|
 |
SK14DG30 |
SWITCH KEYLK 3POS SP3T 0.4VA 28V |
NKK Switches |
|
 |
SK14DG13 |
SWITCH KEYLK 3POS SP3T 0.4VA 28V |
NKK Switches |
|
 |
SK13EDW01 |
SWITCH KEYLOCK 3POS SPDT 3A 125V |
NKK Switches |
|
 |
SK13EDW01-010 |
SWITCH KEYLOCK 3POS SPDT 3A 125V |
NKK Switches |
|
 |
SK13EDW01-001 |
SWITCH KEYLOCK 3POS SPDT 3A 125V |
NKK Switches |
|
 |
SK13EDW01-006 |
SWITCH KEYLOCK 3POS SPDT 3A 125V |
NKK Switches |
|
 |
SK13EDW01-009 |
SWITCH KEYLOCK 3POS SPDT 3A 125V |
NKK Switches |
|
 |
SK13EDW01-007 |
SWITCH KEYLOCK 3POS SPDT 3A 125V |
NKK Switches |
|
 |
SK13EDW01-005 |
SWITCH KEYLOCK 3POS SPDT 3A 125V |
NKK Switches |
|
 |
SK12AAW01 |
SWITCH KEYLOCK 2POS SPDT 3A 125V |
NKK Switches |
|
 |
SK12BAW01 |
SWITCH KEYLOCK 2POS SPDT 3A 125V |
NKK Switches |
|
 |
SK13EAW01 |
SWITCH KEYLOCK 3POS SPDT 3A 125V |
NKK Switches |
|


